
Written By:
Monica Kinsey
Monica is a former warehouse operations manager with a passion for workplace safety. Her favorite topics to cover include safety leadership and continuous improvement.
The purpose of the job safety analysis procedure is to find hazards for individual tasks so you can control them. In this post, I’ll give you a basic overview of how to conduct a JSA. Once you learn the steps, you can apply them to not just safety but other areas of the operation like productivity and quality as well.
Doing a JSA with Frontline ACT
Watch this webinar to learn how our action tracking system makes doing a JSA easier.

When should I do a job safety analysis procedure?
Ideally, you should do a JSA for each task within your operation. But, if you’re limited in time, I’d recommend starting with those jobs that generate the most injuries or safety incidents.
In my experience, the best time to do a JSA is whenever you’re implementing a new process. Then, once the process has been in place for a while, you can do another analysis and fine tune your control measures.
What should I learn from a job safety analysis procedure?
A job safety analysis primarily answers the question “what safety hazards exist in this task?” But to get value from the process, you must take it a step further and figure out how to reduce or eliminate hazards.
Here are some other questions I’ve been able to answer from past hazard analyses:
- Are there any pieces of equipment that I should consider replacing?
- Can I reorder the steps in the process to make it safer?
- How can I improve the work area to eliminate safety hazards?
- Are there any unsafe behaviors in this task that I can correct with process changes?
As you go through the job safety analysis procedure, don’t forget to remember:
Instead of blaming employee behaviors for a job hazard, figure out how you can eliminate the possibility for them to make an unsafe choice.
What steps are in the job safety analysis procedure?
The first decision you make is which job you want to deep dive. Start with high-risk jobs or problem areas that cause a lot of injuries or near misses.
Once you’ve picked a job to analyze, follow these four main steps.
Break the job into its different steps
Observe the job and list each of the steps employees take. All you’re doing here is breaking down the job into individual parts so you can look at each one more closely.
Another benefit of this step is that it allows you to understand the overall flow of the task. Look for steps that slow down the job and make a note of those. Once you’re done addressing the safety hazards, you can use this information to come up with efficiency improvements as well.
Imagine how much you could improve your site’s EHS performance if you could tackle safety, quality, and productivity with a single exercise.
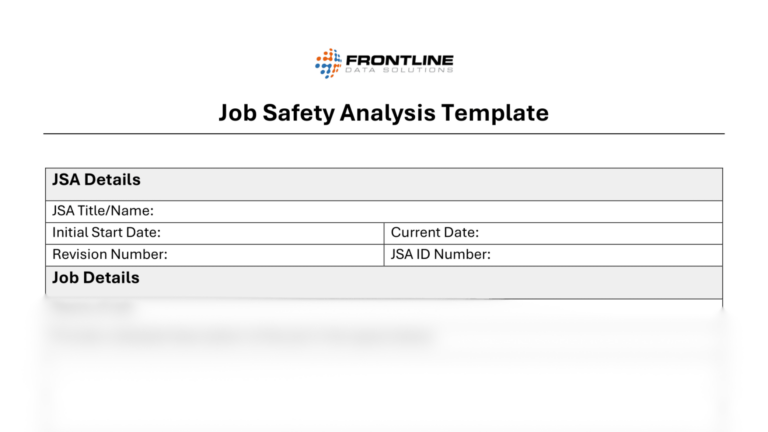
Free template!
Download this free job safety analysis template to get started working on JSA’s around your facility.
List the hazards for each job step
Now that you have your steps listed out, go through each one and find the hazards there. Look for hazards related to:
- Worker habits and behaviors
- Equipment use
- Work area layout and organization
- Material hazards (chemicals, ingredients, etc.)
My biggest advice for this step is to take your time. The whole point of the exercise is to find hazards to correct. Go slow and you’ll be able to find more issues. Regardless of how small it is, each hazard you find gives you the opportunity to make an improvement and lower incident rates.
Brainstorm new control measures
The next step in the job safety analysis procedure is to decide which control measures you can implement. The goal is to reduce or eliminate the hazards you found in step two.
Some hazards have simple solutions while others may require multi-step control measures. For those hazards that require more in-depth solutions, I’d highly recommend breaking down the control measure into parts.
For example, if you’re going to implement a new training requirement, here’s how you might break that down:
- Develop the new course materials
- Schedule training classes for all affected employees
- Coordinate with contract employees (if applicable) to complete the training
- Document training completion for all employees
So, from this example, you can easily see how one control measure adds up to many smaller action items. In my experience, breaking each control measure down into these parts makes it easier to decide which measures you’ll implement first.
Sometimes, you might be deciding between two equally important measures. But then you realize that one involves significantly less planning and coordination. Or maybe you realize you have to do one before you can start the other.
During this step, you also need to assign each action item to people on your team. Then you must set deadlines. This is HUGE. If you don’t set deadlines, it is so easy to let control measures fall to the wayside. And then you’ve done the entire JSA for no reason.
Brainstorm, schedule, and assign action items so you can easily track progress on your JSA findings.
Another pro tip: use your action tracking system to coordinate completion. This saves a ton of time and reduces the chance of oversights.
Implement your new control measures
The final step of a job safety analysis is to implement your control measures. Examples of activities at this stage include:
- Installing new equipment
- Modifying existing equipment
- Training employees on a new module
- Updating work area signage (stop signs, warning signs, etc.)
- Updating control documents
- Reorganizing a work area
- Installing safety equipment (fire extinguishers, lockout tagout devices, etc.)
I’ve found that the more thorough I am during steps 1-3, the easier this last step is. That’s because by the time you’ve broken everything down and analyzed it, you should have a good idea of what you need to do.
One recommendation I have during implementation is to document everything you’re working on. That way, you can reference your notes to problem solve any issues you might have.
If you take a methodical approach, you should be able to get a lot of value from the job safety analysis procedure. And if you do have success with it, I’d highly recommend applying it to other areas of the operation, such as quality and productivity. Looking at each job from all three angles means you’re more likely to find improvements that tackle multiple areas of performance at once.