
Written By:
Monica Kinsey
Monica is a former warehouse operations manager with a passion for workplace safety. Her favorite topics to cover include safety leadership and continuous improvement.
Merriam-Webster defines hazards as “sources of danger,” and employers must be adept at hazard identification to reduce the risk of injuries and fatalities. They do this by implementing control measures that either minimize the dangers or eliminate them altogether.
Oftentimes, the process of hazard identification can be overwhelming and difficult but there are certain steps that you can take to simplify the process. Let’s break down each of the steps.
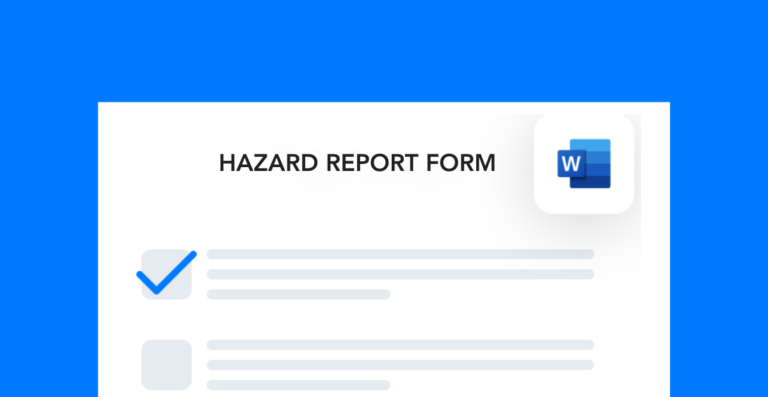
Free form!
Use this template to build a site-specific hazard report document for your team to use. Correct hazard identification will improve the document’s accuracy.
Hazard identification
Some hazards, such as water on the floor, are easy to identify. However, others aren’t always so obvious. You can break hazards down into different categories to make it easier to address them. Some examples of categories you might use include:
- Biological
- Physical
- Security
- Chemical
- Psychological
- Ergonomic
For instance, OSHA offers several tools on its website for employers to use. First, narrow your search by looking for hazards specific to your industry to make hazard identification more efficient.
Another valuable source of hazard information comes from your employees. Therefore, ask the people working in your operation what hazards they encounter. Employee input plays a vital role in proper hazard identification.
Hazard Identification Risk assessment
Compiling a list of hazards in the workplace is just the first step. It can often be overwhelming to look at a giant list of hazards and wonder where to start.
The best way to do that is to evaluate each hazard individually. Organizations should focus on each hazard’s identification and look at both frequency and severity when completing the hazard evaluation.
As an employer, you should be asking yourself things like “how likely is it that a particular hazard will actually cause an injury and, if it does cause an injury, then how severe is that injury likely to be?” Proper hazard identification relies on effective questioning.
Control selection
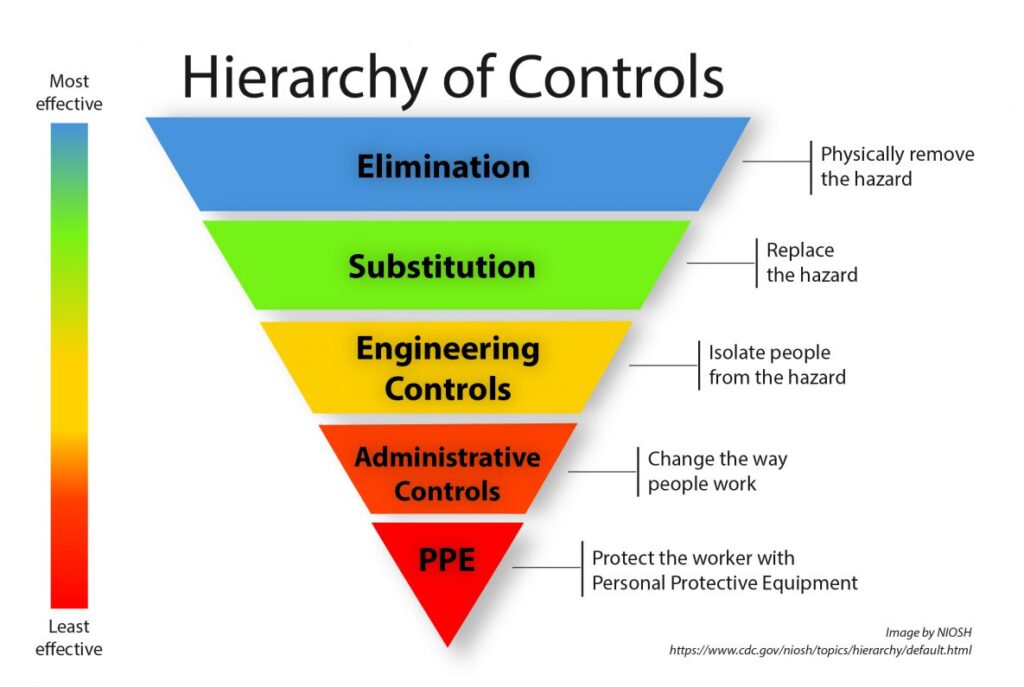
Once you identify the hazards and determine which hazards pose the greatest danger to your team, your next step should be deciding how to eliminate or reduce the hazard. To do that, follow the hierarchy of controls:
Evaluate each hazard and see if you can eliminate it. If not, substitute it, and so on and so forth. An ongoing process of hazard identification is crucial in implementing these steps.
Here is an example of how you might follow the hierarchy for a noise hazard coming from machinery equipment.
Elimination: Remove the machinery from use.
Substitution: Change out the machine for one that makes less noise.
Engineering: Build a wall with insultation between the machinery and your employees.
Administrative: Rotate workers so that no one spends too much time next to the machine.
PPE: Provide hearing protection for your workers.
Control implementation
Once you determine the controls that you’ll use, it’s time to implement them. While hazard elimination is often the safest way to protect your team, it’s not usually possible to eliminate hazards completely.
Make sure that the controls you implement will not pose an even greater hazard to employees. The way to do that is to re-evaluate and start the process of hazard identification all over again once the controls have been implemented.